| Thursday, July 2, 2009 |
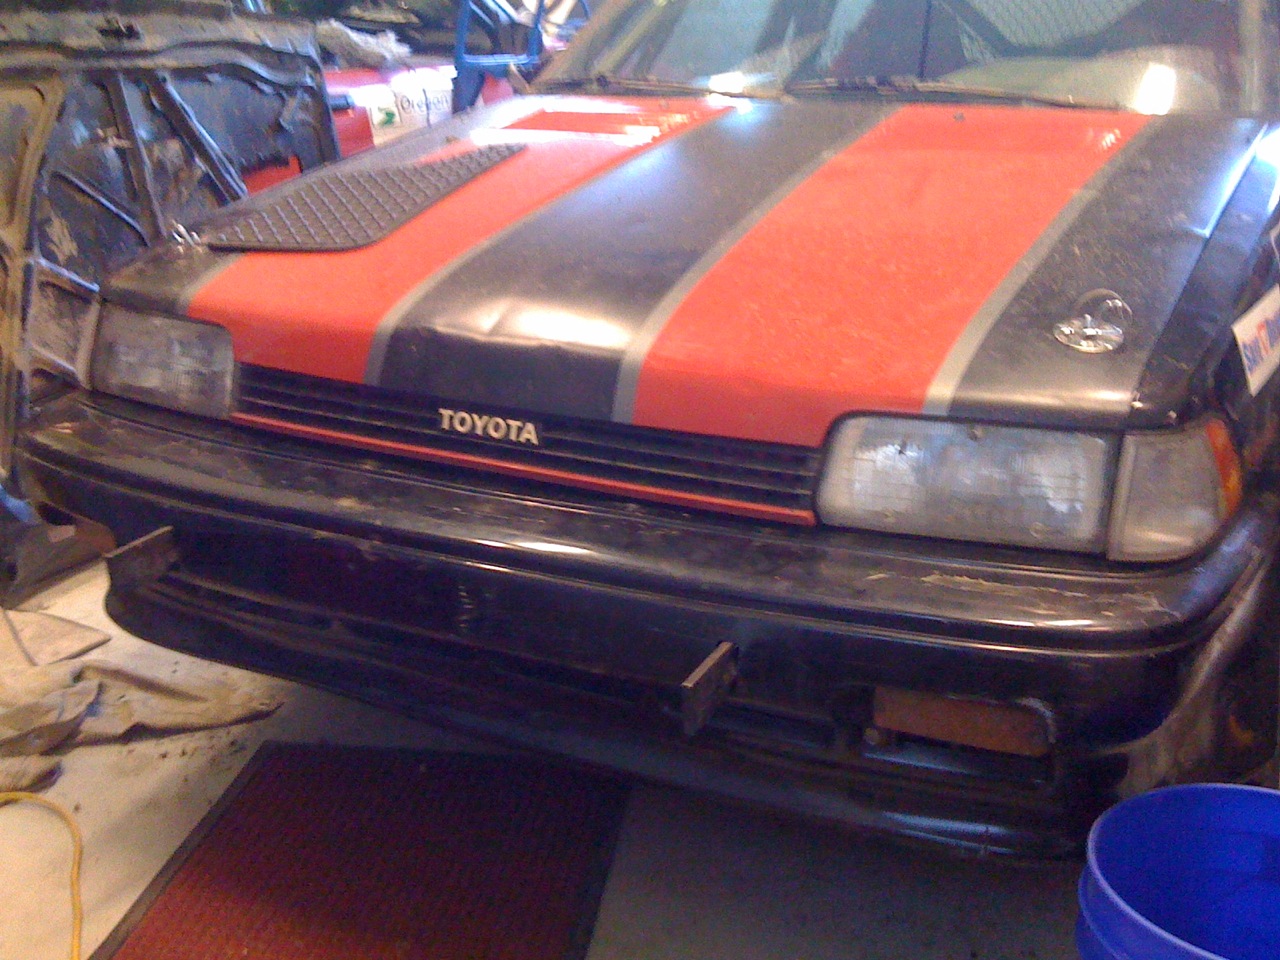 |
The "New" Bumper is on!
by brian @ 13:02:29 - [perma-link]We've been using the old rally car's bumper up until now. Today I
finished customizing the padding inside the "new" bumper to fit around
the tow hooks and installed it on the car. Its not much prettier than
the old one, but the two hooks will be a little more convenient than
the single, and the paint (where it isn't cracked ;) matches the car
(like a GT-S bumper should). All it needs now is holes. Still to do:
- drill the holes
- mud-flap on the front right (and probably check the rears to make
sure they don't fall off before tech)
- maybe some tuning
- take spare axles for a rebuild (doing that today)
- mount the in-car camera
- mount the Cool Shirt cooler and controls Is that really all?
|
| |
| Thursday, June 11, 2009 |
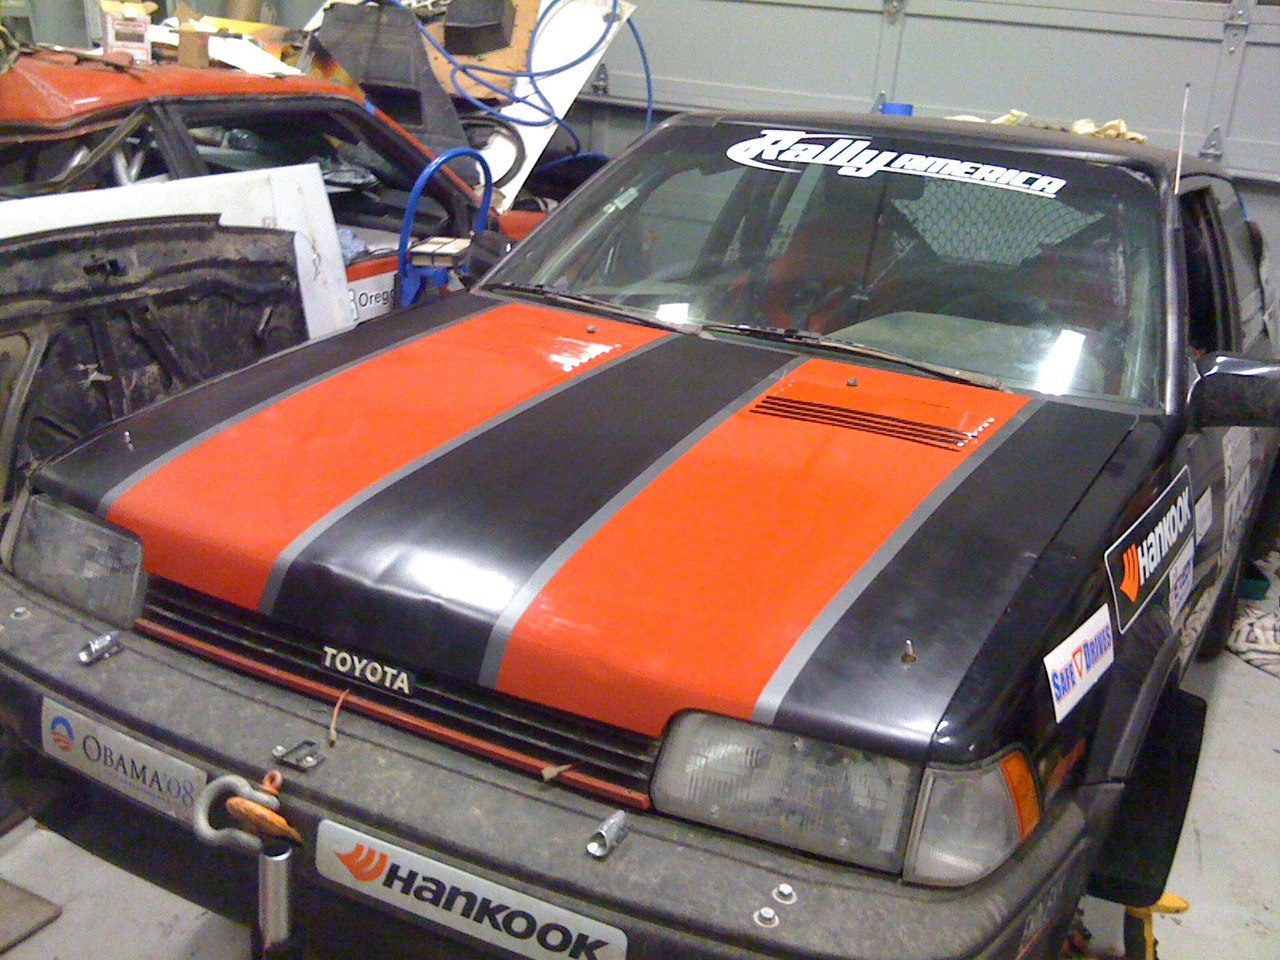 |
Rally Car Hood v2.0
by brian @ 22:11:33 - [perma-link]The hood is almost done. I mounted it on the car and drilled holes
for the hood pins. I still need to remove the top-plates and cotter
keys from the old hood and put them over these pins, but I had to see
how the new paint looks on the car. I like how the stripes turned
out, but the semi-gloss black really brings out the dents and creases
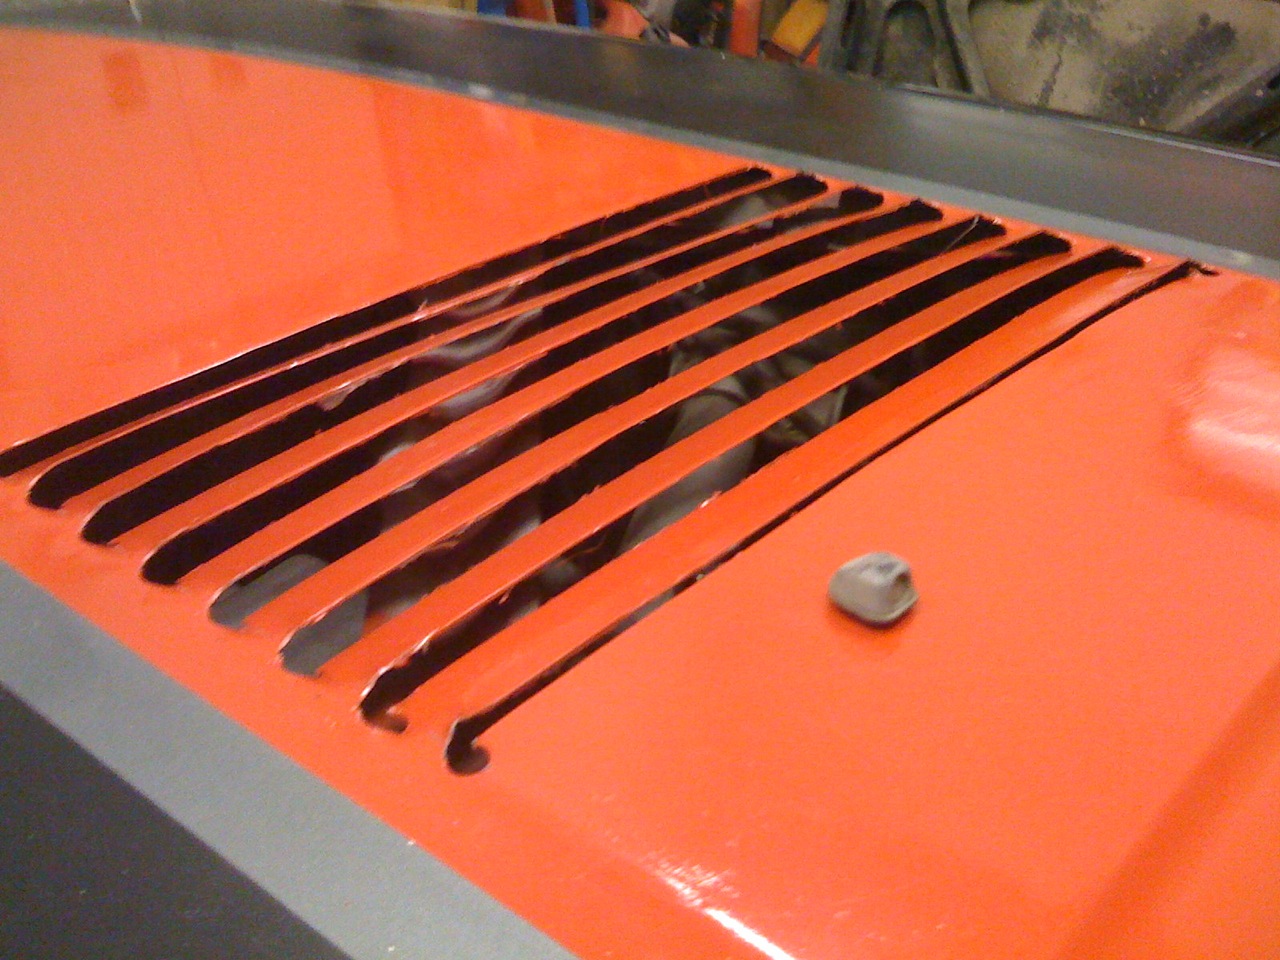
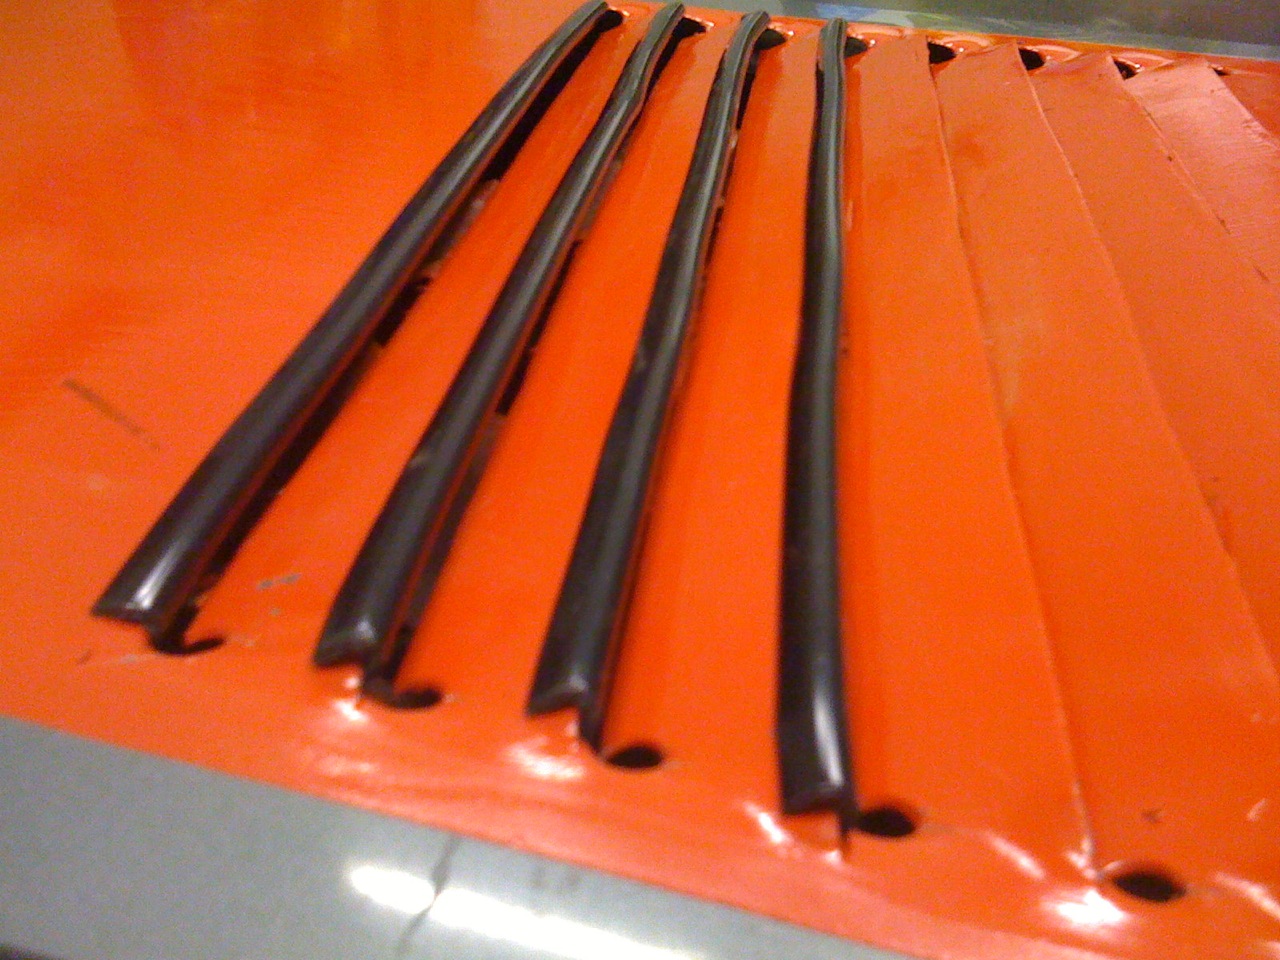
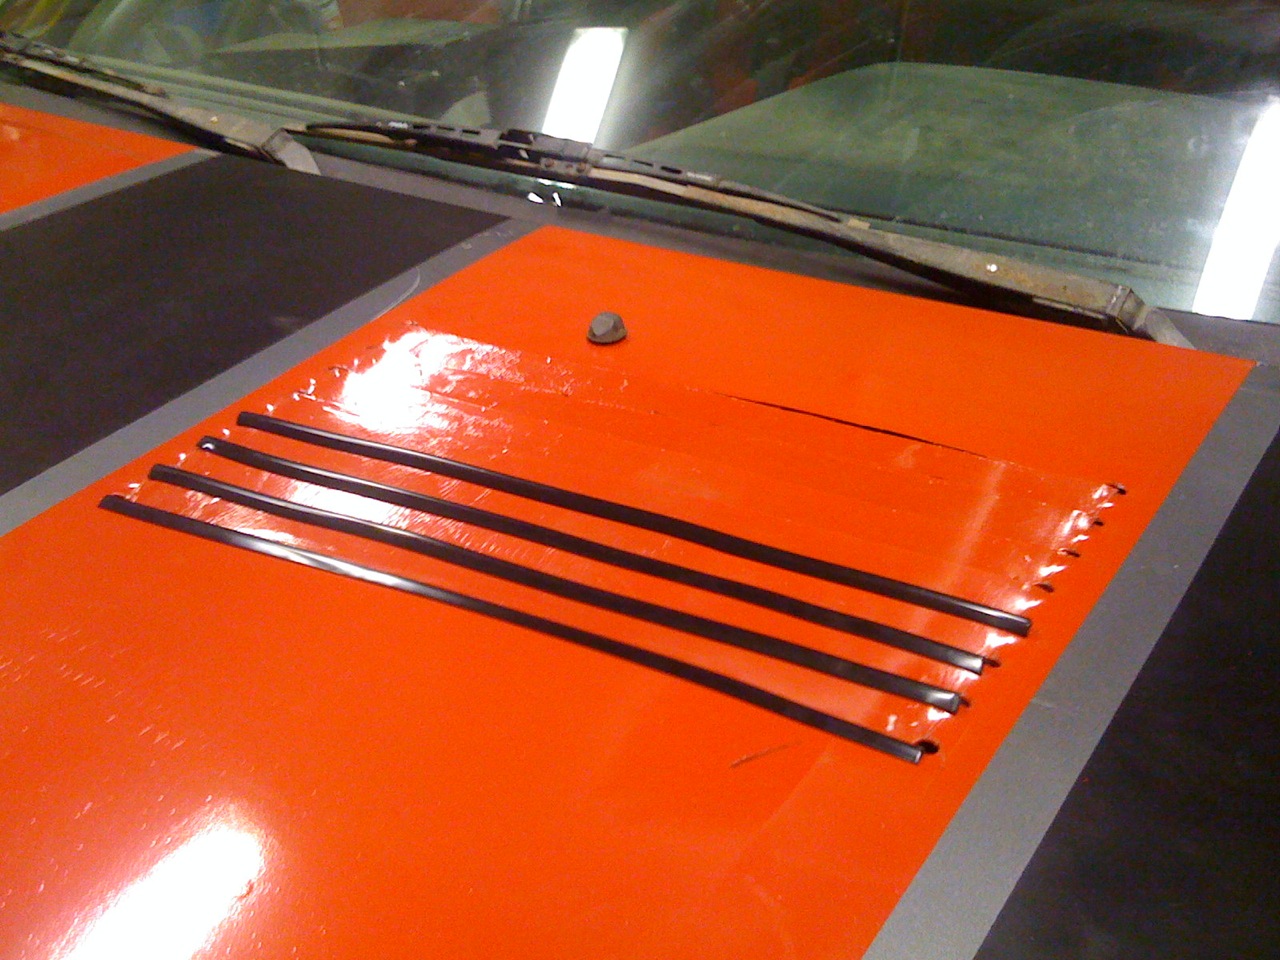
in the hood. Its far from perfect, but is good enough for rally. :) After installing the hood, I twisted the louvers into place, and put
door-edge trim on a few of them. It gives it a more finished look,
and makes it way less dangerous than the jagged metal edges. The
louvers on the passenger side have no trim and almost disappear when
viewed from the front. I don't know which way I prefer just yet. I
just hope they solve the overheating problems. That's the most
important thing.
|
   |
| |
| Tuesday, June 9, 2009 |
 |
The New Hood
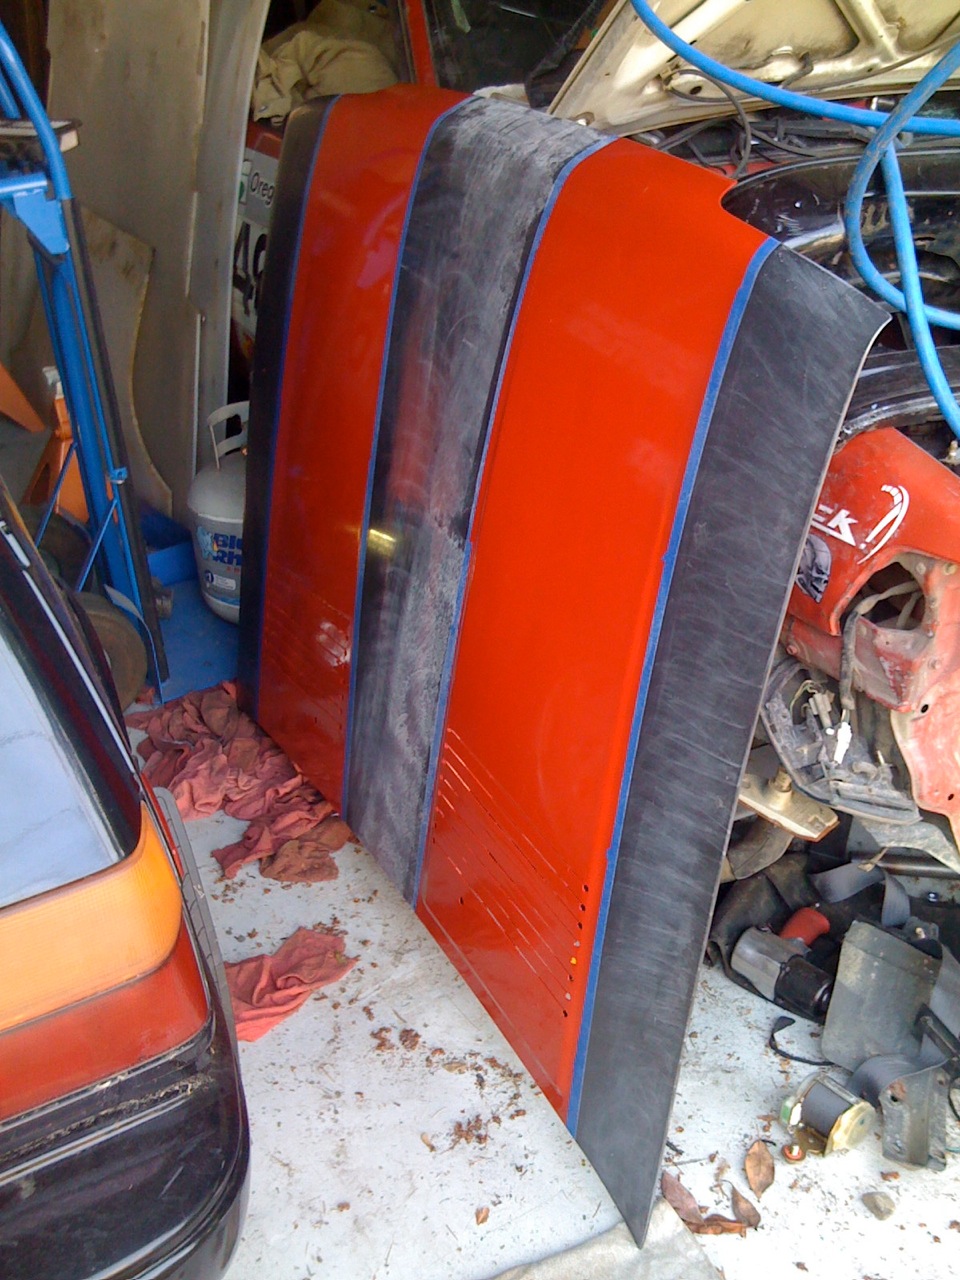
by brian @ 18:01:53 - [perma-link]I cut louvers into one of the spare hoods today. Having almost
perfected my technique on the black hood, these ones came out pretty
good. I cut the straight lines at the forward edge of the drilled
holes, so the louvers will bend further into the engine compartment
and stick up less. The red stripes follow the raised "cowl" on the
passenger side of the hood, roughly mirrored onto the driver side. Painting it was quite an adventure. My one can of red was only good
for one really thin coat before it ran out. I drove up to the store
to get more. One store didn't carry the Duplicolor brand, and I
wanted the exact color I was already using (I painted the skidplate
red, too). The next store carried Duplicolor, but the paint shelf was
pretty bare. I finally found 2 cans of "Cherry Red" at Fred Meyer,
but when I got to the counter I didn't have my wallet. After a round
trip home to get it, I finally bought the 2 cans of red and 2 cans of
semi-gloss black. I'm going to leave the strips of tape along the side of the red, and
let it dry overnight. Tomorrow I'll mask the red and paint the center
and outer sections black. If all goes well, it should be left with 2
thin grey stripes on either side of the red where the tape is now. I
hope it looks good (or at least good enough to rally). I haven't yet bent the louvers, so they're just flat slats right now.
I wanted to paint them right after cutting them, since the ones on the
black car are already showing rust, after just a few days (though it
did rain). The paint also hides the edges, so they shouldn't stand
out as much, and the couple of rough spots where the cutting wheel
didn't go exactly straight shouldn't be as noticeable as the jagged
cuts on the black hood were.
|
| |
| Tuesday, June 2, 2009 |
 |
Louvers in the Hood
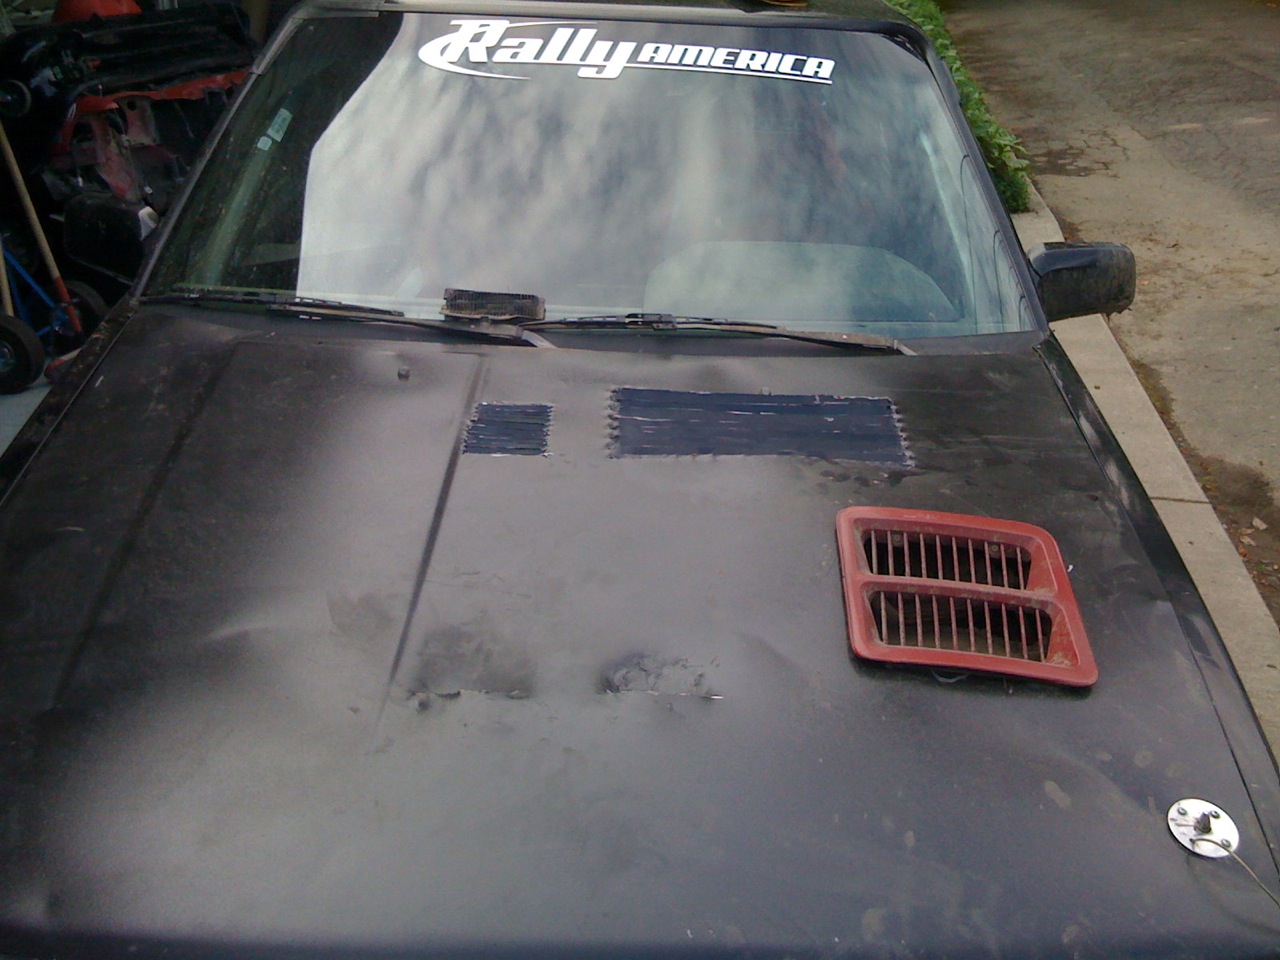
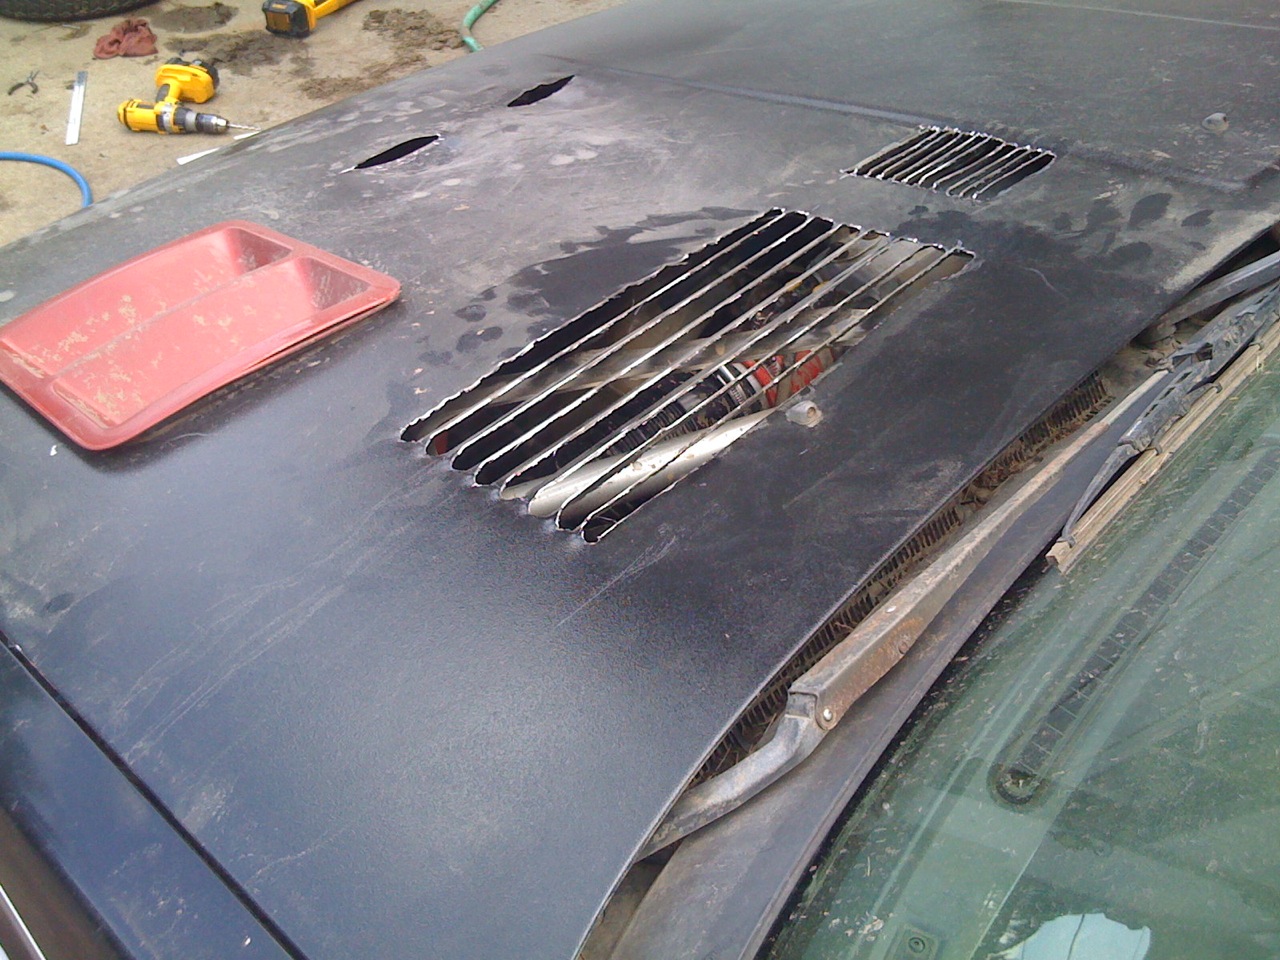
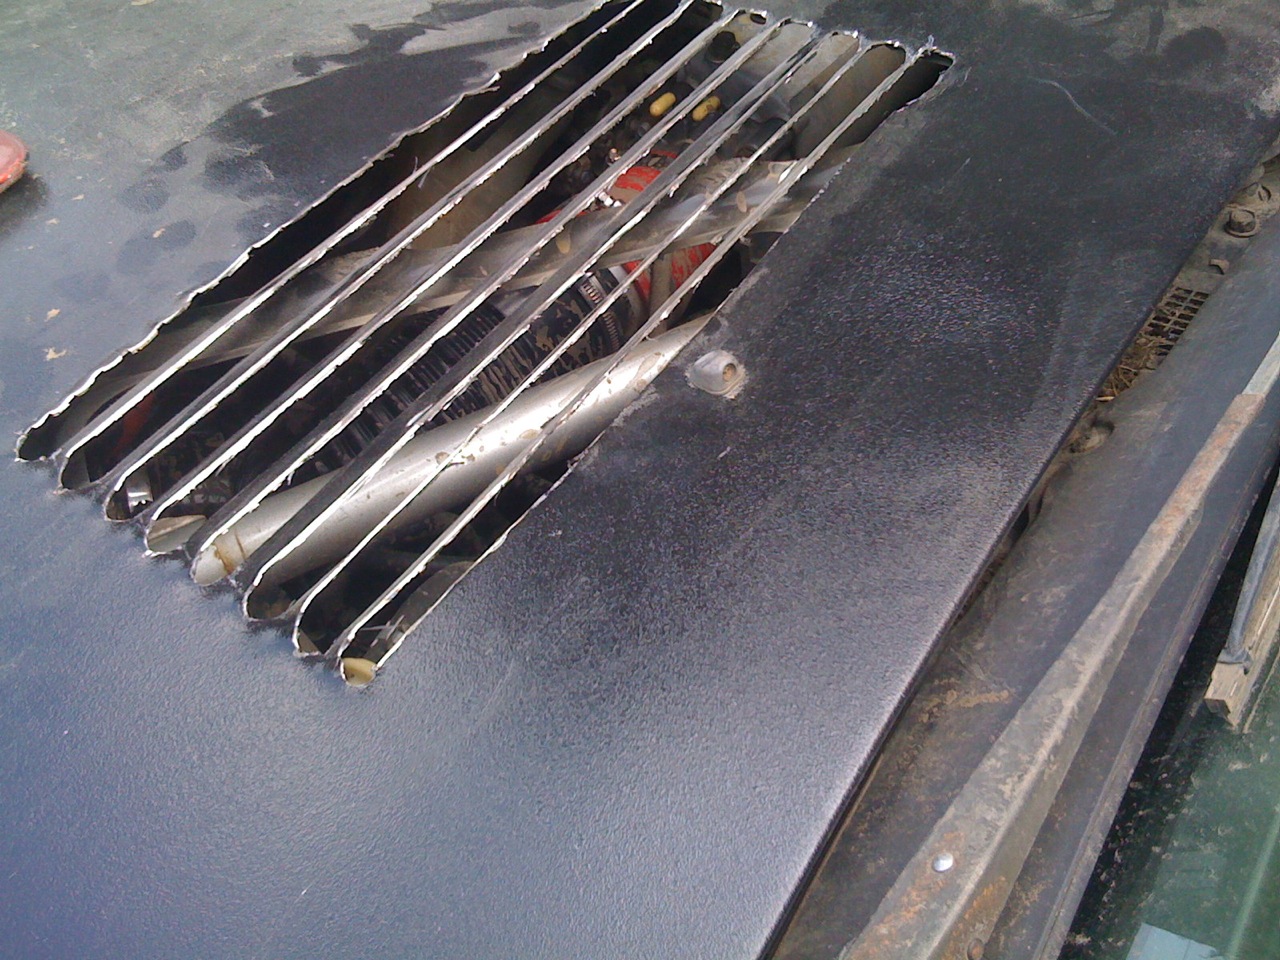
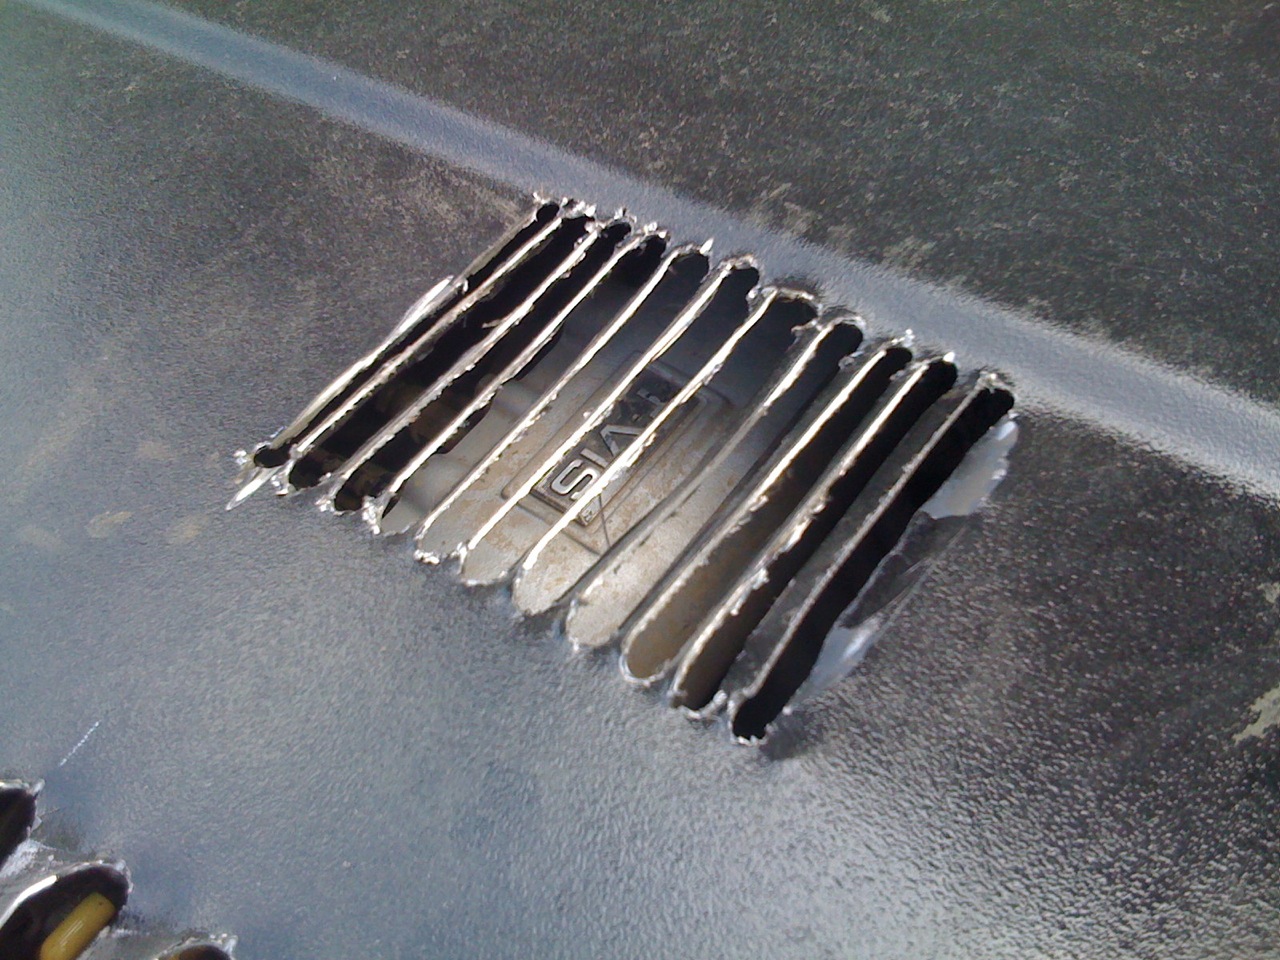
by brian @ 18:01:22 - [perma-link]This is the next attempt at reducing underhood temperatures. I cut
some "test" louvers into the hood today. I drilled holes at each
corner, then cut across from hole to hole using a cutoff wheel on a
cordless grinder. Then I grabbed between two holes with needle-nose
pliers and twisted the louver in the hood. The small ones were the first test. They are about 1/2" wide each. I
think they are too thin. The larger ones are about an inch wide and go all the way from the
center rib to the inner edge of the shock tower, and end just behind
the valve covers, so rain doesn't drip off the louvers into the spark
plug trough. (Even though the spark plugs are in the engine, which is
on the other side of the car... I had the hood upside down when I cut
them. But if I mirror them, the ones on the other side won't drip on
the spark plugs!) I also pulled the header out of the car to clean it. I was going to
wrap it with insulating header wrap, to reduce their heat
contribution, but read some SCCA forum postings about header wrap
absorbing oil leaks and catching on fire and decided not to wrap
them. They still needed a good cleaning, as they were pretty packed
with mud from running rallycross without the skid plate. I'll reinstall the clean header tomorrow, swap in the Celica airbox
from the old rally car, and go do some more test driving and go to a
car wash. The North Nevada Rally has been postponed, date unknown. That gives
us a little more time to figure things out before Idaho.
|
   |
| |
| Sunday, May 31, 2009 |
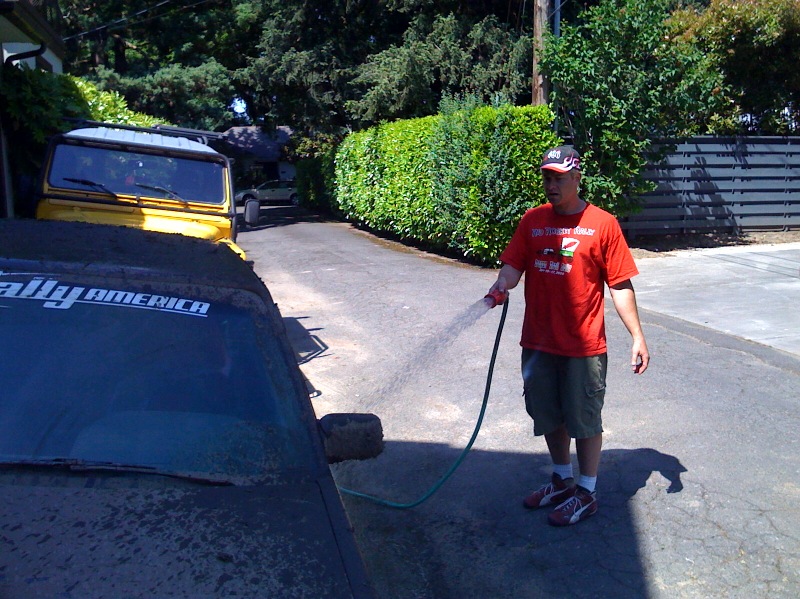 |
Cleanup After
by ccons @ 16:20:25 - [perma-link]Rally Cross
|
| |
| Sunday, May 24, 2009 |
 |
What's in here?
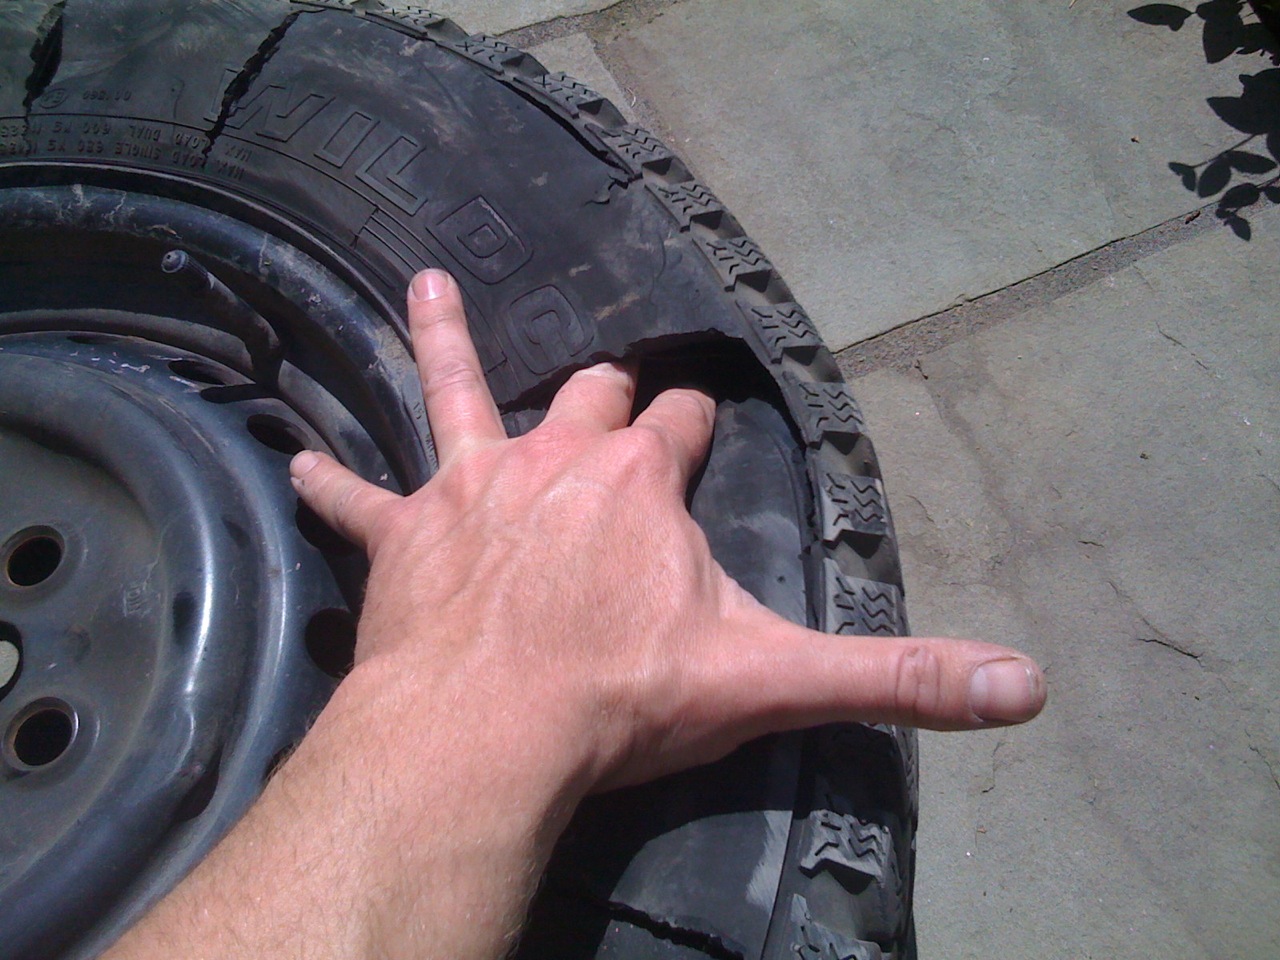
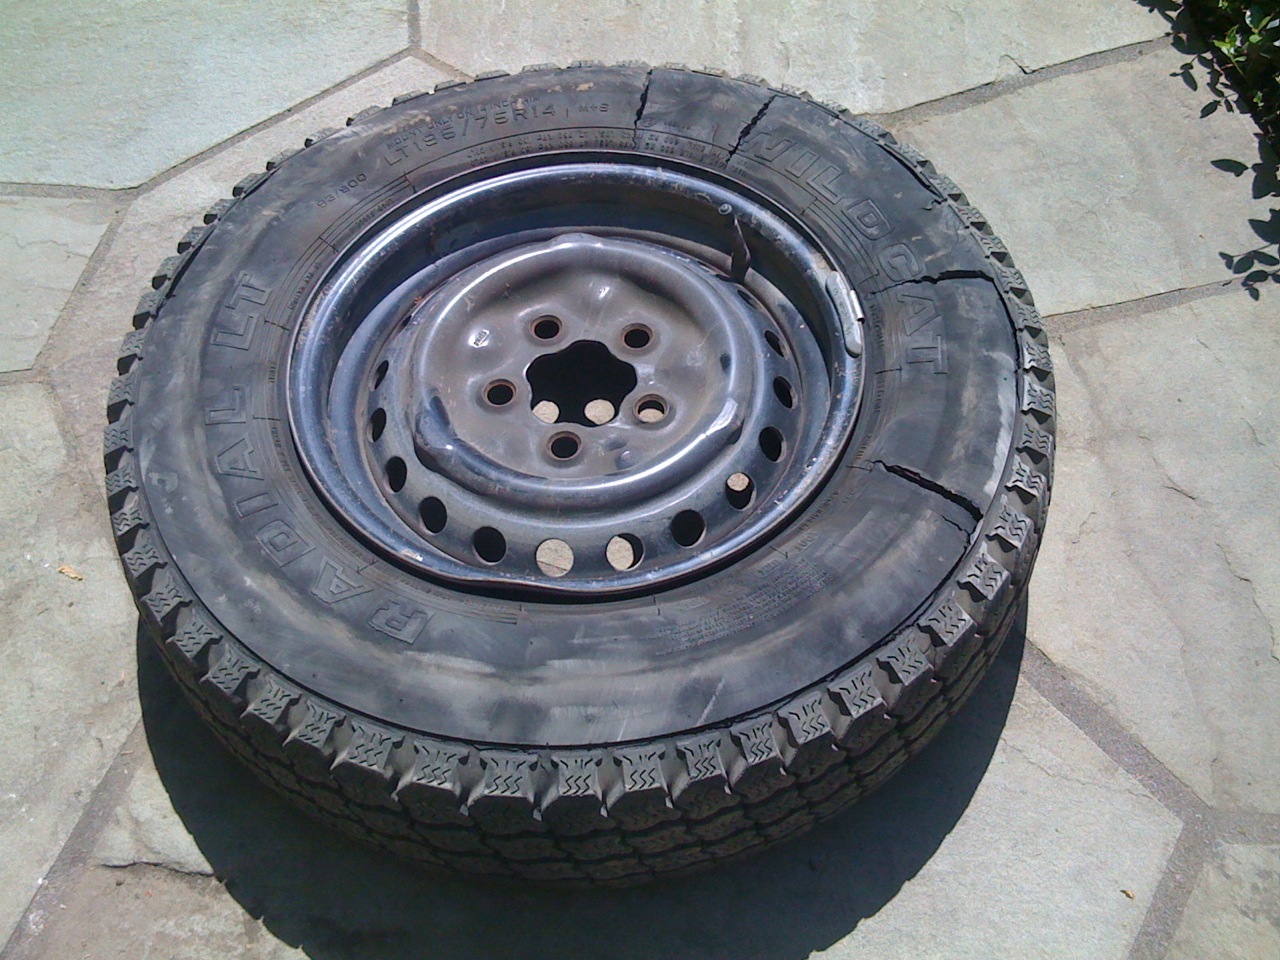
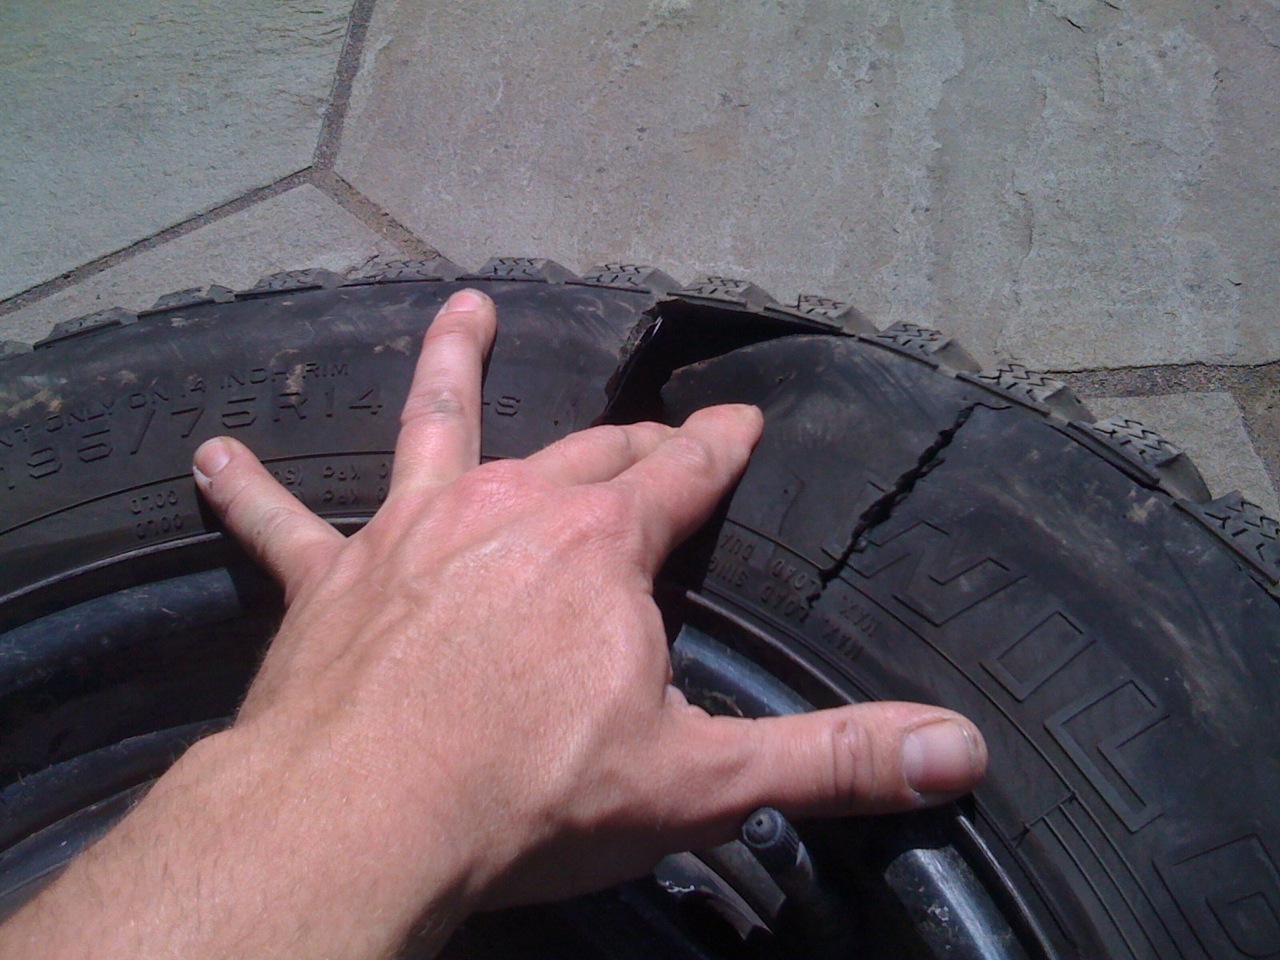
by brian @ 13:33:50 - [perma-link]Not air, that's for sure! I got a flat tire in the Vanagon on the way
back from Hood River last weekend. Our whole rally contingent pulled
over and helped me change it (the vanagon carries a full-sized spare
in a compartment under the front of the van). The lug nuts were
tighter than I could loosen with just the lug wrench so Josh had to
turn around in his service truck and go at them with a 3-foot breaker
bar. I'll have to add one of those to the under-seat tool box.
As bad as the tire looks now, the flat didn't horrible affect
driving. Granted we were in a 35-mph zone, but I just felt the car
start driving a little weird and had to ask my sister to look out the
window and tell me if the rear tire was flat. "No... Um.. yes...
wait, no. Maybe. Uhhhh... Oh yeah, its really flat!"
I just looked at the other tires when I was swapping in a good spare,
and they all still look good, and actually have a whole lot of tread
left. I was thinking that they were kind of old, but now I'll have to
find the tire receipt and see if this one is still under warranty. :)
In any case, I can drive the van around without worry (I've been sort of
avoiding it since I got back home), and take my time finding some nice
15" wheels and new tires for it.
|
  |
| |
| Wednesday, May 13, 2009 |
 |
New Windshield
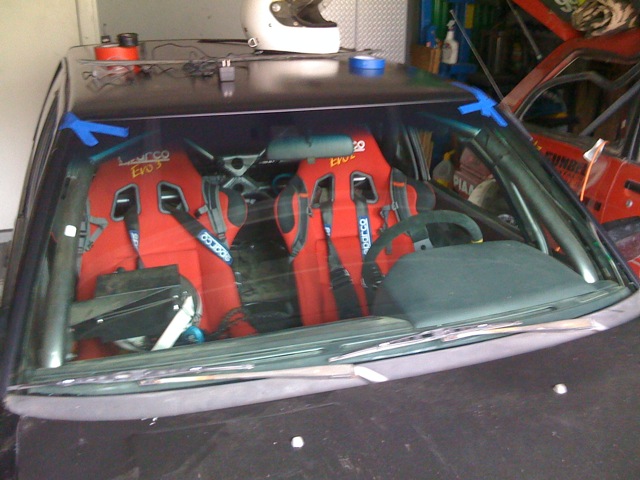
by brian @ 13:34:21 - [perma-link]Yesterday I took the rally car for a test drive/shakedown. When I was
pulling onto McLoughlin Blvd, the hood flipped up and busted the
windshield. I forgot to check the hood pins before I left. Metro Auto Glass came by today and installed a new one. Its almost
ready to rally.
|
| |
| Saturday, May 2, 2009 |
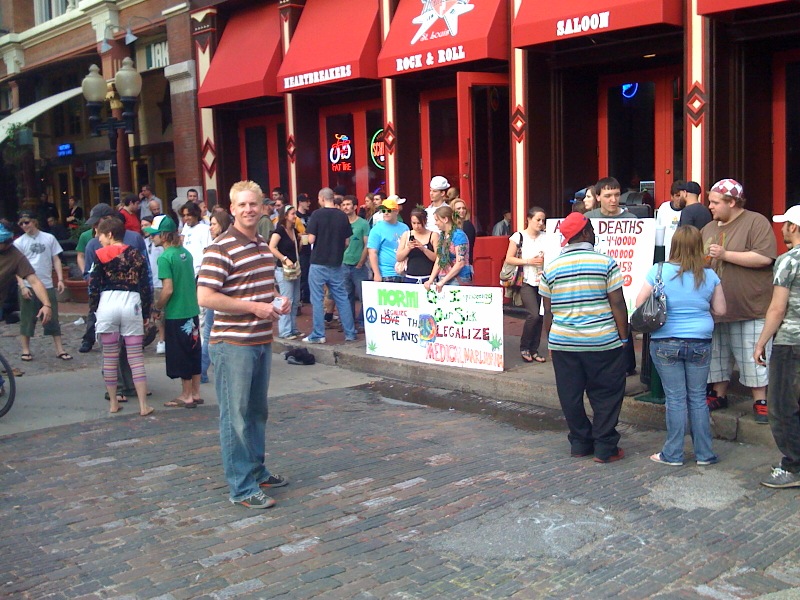 |
Marijuana Rally
by ccons @ 15:51:40 - [perma-link]Laclede's Landing, STL
|
| |
| Monday, March 30, 2009 |
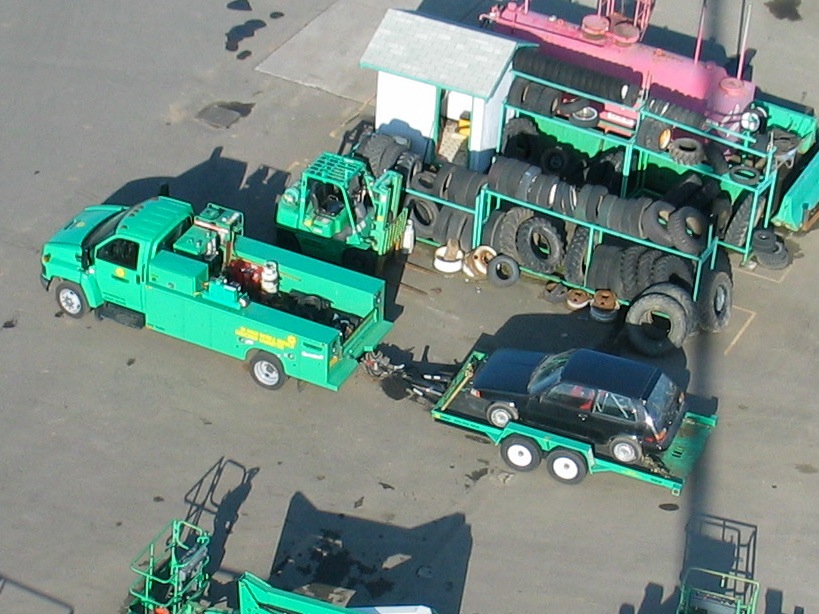 |
by brian @ 11:27:50 - [perma-link]We spotted the new Red Rocket Rally car from the top of a 125 foot
boom. Its fresh out of the paint booth with a new coat of black on
top. Its almost ready for Olympus!
|
| |
| Wednesday, March 4, 2009 |
 |
Gay Marriage Rally
by ccons @ 19:22:45 - [perma-link]On the eve of opening arguments...
|
| previous |


